Monthly Archives: December 2012

Going Out With a Sneeze

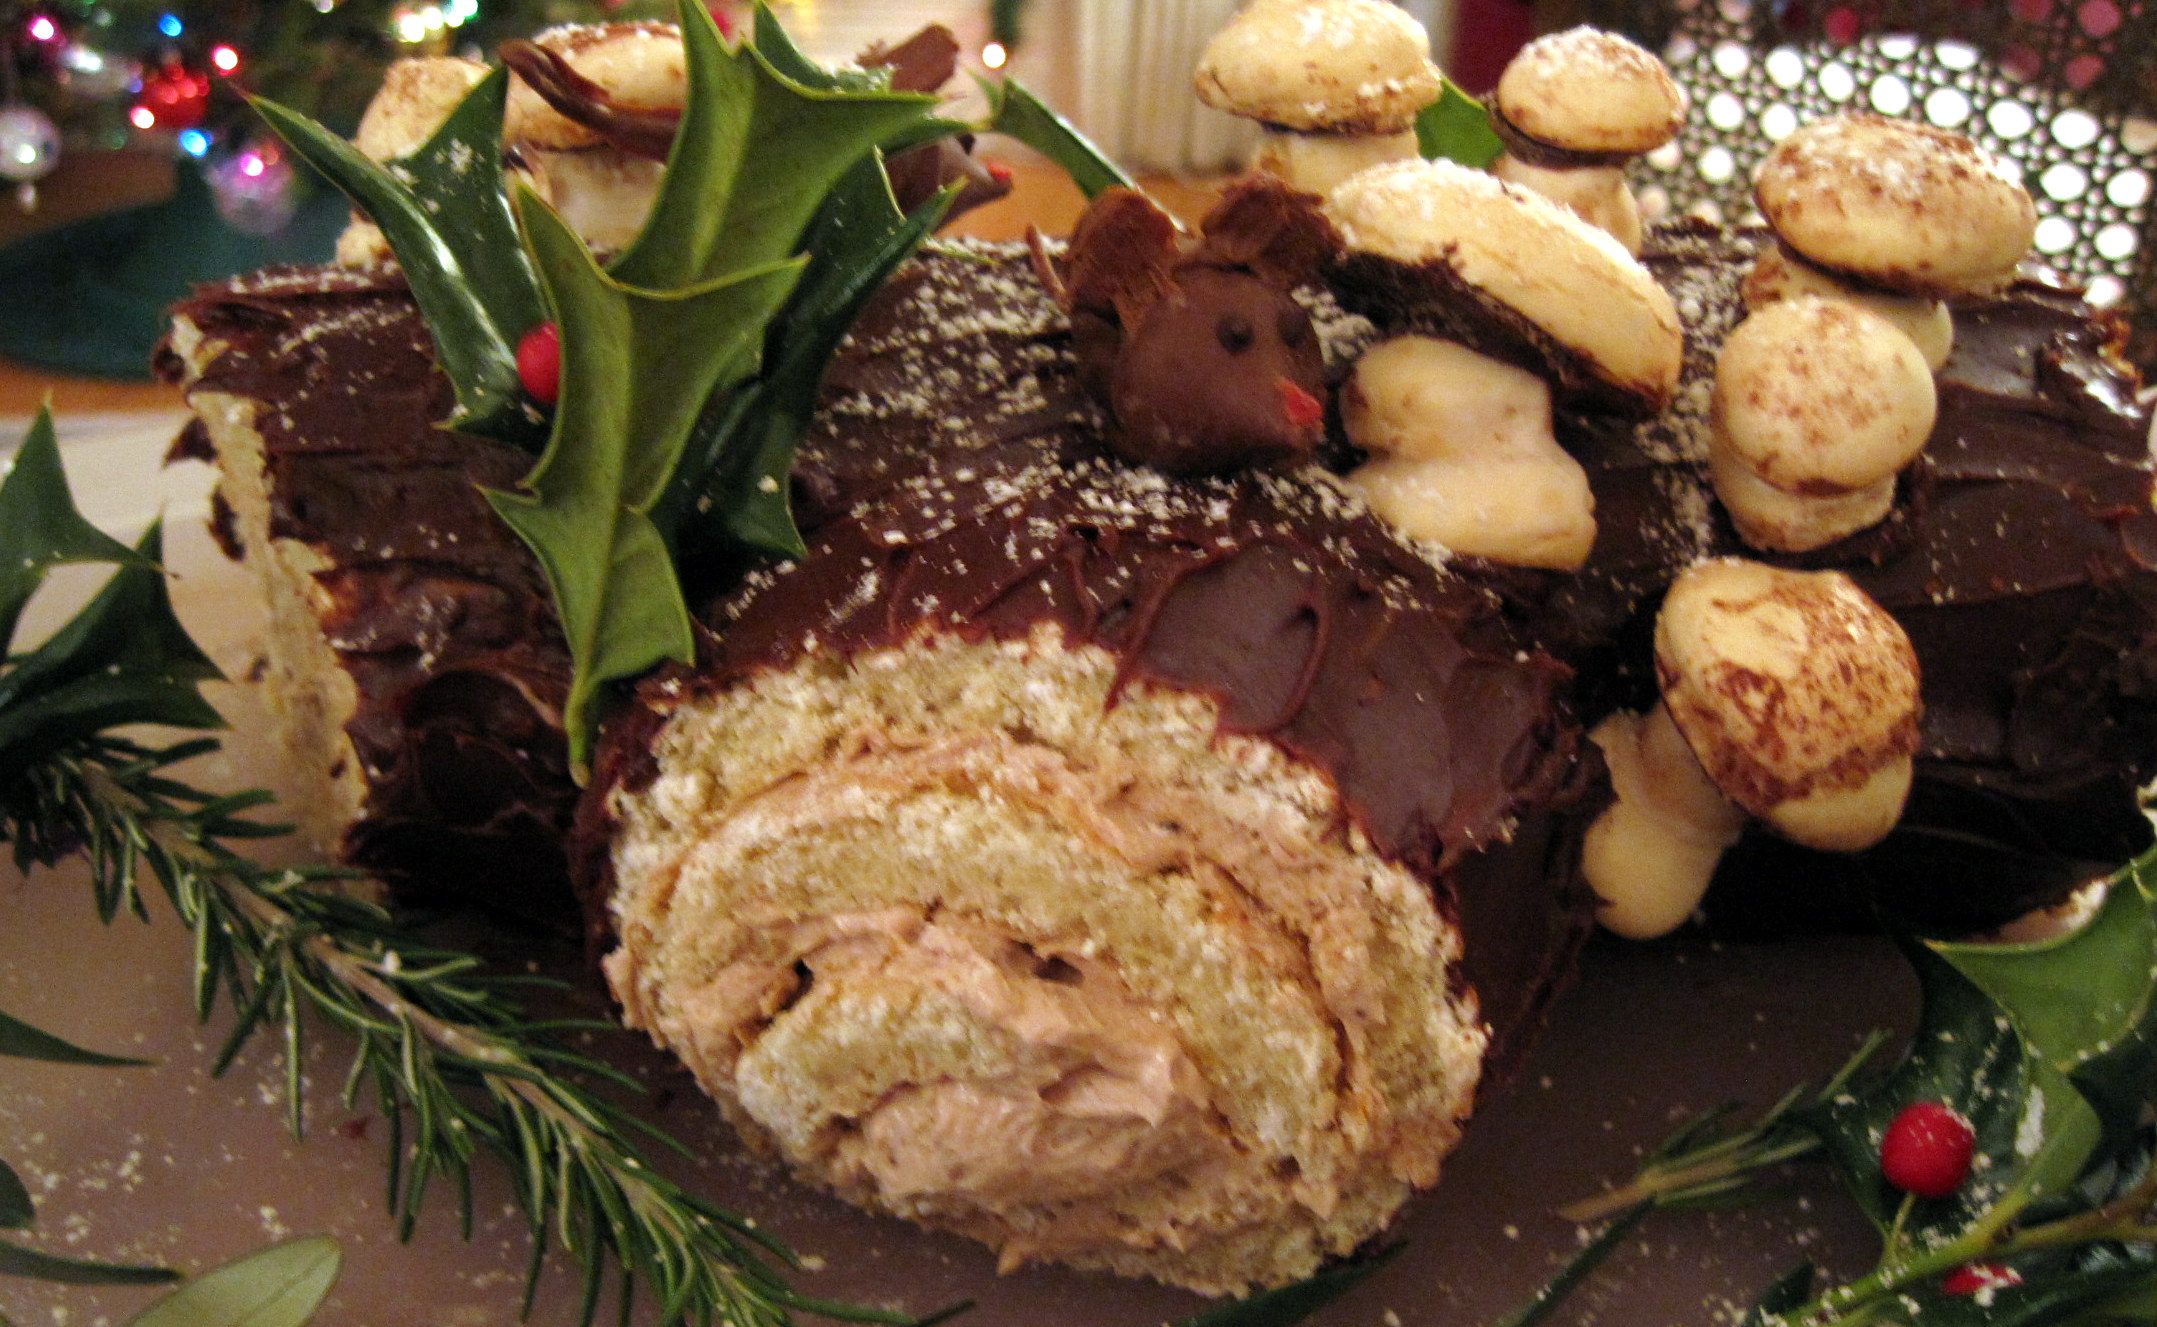
Happy, healthy and safe New Year’s wishes to all of you.

I’ve been anticipating the little lull that happens for me after Christmas.  That lovely Christmas-is-over-and-I-don’t-have-to-go-back-to-work-yet time.  It’s very precious and I really look forward to it.

I got it this year – I am off from work from Friday, December 21. to Wednesday, January 2.  I did go in for an hour one day and four hours another to unpack boxes in my new office and get that situated, but it was completely relaxed, not dealing with anyone’s needs but my own.

The problem is, I am still not completely over a cold that came to visit on Monday the 17th.  Then I got some icky little bug that really knocked me down.  Let’s just say  I didn’t go anywhere for two days but back and forth to the bathroom. I had a low fever and was achy all over.  I’m grateful that I have this generous time off during the holidays to relax or in this case recover.  I know many people are working retail during the holidays who just get beat up with the long days, long lines and short tempers.  Others are not working at all.

But I was really anticipating some great craft time working in my Art Journal.  Maybe even time to write a post about it and show you some pages.  I contemplated a delicious stroll through an art store buying some new supplies with a Christmas gift certificate I received from Rem.  I was considering a decadent block of time here.  I thought about a few great hikes I might take, loaves of bread I might bake, or drives Rem and I might take.

Instead I was lucky to squeeze in one walk and visit with my friend Liz down from Seattle, and lunch with my mom. I made a big pot of chicken soup today and nearly wore myself out in the process, going all the way to Safeway and back.  I blew through a box or two of Kleenex. Rem showed me this site for online jigsaw puzzles so that when I could sit up for awhile I could distract myself.

I wouldn’t have done all the things I thought about doing, but there’s a difference between choosing to lie on the couch in your PJ’s until noon, reading a favorite old novel (I reread September by Rosamunde Pilcher for the 4th or maybe 5th time), and feeling cruddy and not having the energy to sit up.

Sometimes I read fashion blogs and I love seeing outfits put together in combinations I wouldn’t have thought of.  This morning I was trying to come up with something funny to say about the outfit I had assembled:

The vintage blue nightgown has a rustic appeal with its distressed look. It’s a sassy topper over black exercise pants and is equally at home with the soft but grubby baby blue bathrobe.  Or layer all three together – so versatile.  Sash or no sash? You decide!  Accessories: new black and white slippers from my sister Sarah.  She probably didn’t know I would have them on ’round the clock but they are perfect – so soft, and they keep my toes warm.

Tomorrow I’m hoping that Rem and I can manage a little drive.  If not, we’re restocked on Kleenex, there’s chicken soup in the fridge and we can go do jigsaw puzzles at JigZone.

Thanks for stopping by and here’s hoping 2013 is a good year for all.

10 Comments

Filed under Life

Gingerbread Christmas

Gingerbread Cottage

Getting ready for Christmas is always a hectic time for me.  I want to make gifts for my family and friends.  Rem takes care of most of the decorating of the apartment but there are always more gifts to be crafted, cookies to bake, cards and packages to send and stocking stuffers to buy.

This year at work, Friday the 22nd was the last day of finals as well as the last day to finish packing up my office before moving to a new building during our Winter holiday.  In the midst of this busy time I caught a cold.  It was, needless to say, inconvenient.

Slowing down was the obvious answer and really the only solution for me.  I wasn’t going to get everything done and it didn’t really matter.

One thing I kept on my to-do list was a visit to Creekside Bakery in Novato to see their beautiful gingerbread cabin.

Front Porch of Gingerbread Cabin

This bakery, tucked into a shopping center, make a gingerbread structure every Christmas, but this was the first one we’d seen. A gingerbread man holds open the door on the front porch, welcoming one and all into the rustic cabin.

The following photo is pretty dark, but it gives you an idea of how big the gingerbread cabin is.

Rem for scale

We went on Sunday in the pouring rain.  We sat down with hot chocolate  and a ginger-pear scone (me) and coffee and bear claw (him).

Pear-Ginger Scone with Hot Chocolate

Coffee & a Bearclaw

The pastries were still warm.  I didn’t stop to take a picture before I started eating and sipping.  The whipped cream was not from an aerosol can.

They really get into Christmas at Creekside Bakery.

Jazz Cats in Santa Hats

From the wall mural of Jazz greats in Santa hats (cats in hats?) to the little village on a side counter.

Village I

IMG_0039

Which, by the way, I think I could have lived in happily if only I were a bit smaller.  With a small bakery, miniature pub, bookstore, school, bank, quilt shop (surely they supply a few other craft supplies there too) and more, it was a lovely arrangement.

A Christmas tree in the corner was decorated with ornaments of cups of coffee, tea, hot chocolate and pastries painted in mouth-watering detail.

Bakery Christmas Tree

In addition to a case full of freshly baked pastries, the cookies included gingerbread and iced sugar cookies.  I love the muffler-wearing polar bear and the gingerbread men with frowns amidst their smiling brothers.

Iced Cookies

Gingerbread

The piece de resistance was the gingerbread cabin.

Cabin Interior

I didn’t get a good picture of the potbellied wood burning stove in the other corner but please note the little pink ham in the small yellow oven, all made from fondant.  The tiny ham is even studded with cloves!

Back Door with Wood Logs

The whole setting is formed out of Rice Krispie-marshmallow hillocks with fondant-covered boulders coming through the snow.  Gingerbread log and post fencing surrounds the property and a small deck is on one side. Little logs of rye bread sticks are stacked outside the cabin ready to bring inside, and an owl sits in a tree nearby.

We were inspired to go home and bake.  We made simple but delicious Spice Cookies, a favorite recipe I got from my sister.  I asked her where she got it and she thought it was out of a magazine years ago.

I know most of us are cookied-out around now but at least bookmark this recipe for next year when things are just starting to get crazy.  I found that rolling and cutting out cookies is relaxing for me, and the delicious way the house smells during the baking make this an activity I want to keep on my list.

Spice Cookies

Ingredients:

1 cup butter

1 1/2 cups sugar

1 egg

2 tsp. orange zest (zest from one large orange)

2 Tbsp. dark corn syrup (we used light because we had it – dark would provide a richer color and more pronounced flavor to the finished cookies)

1 Tbsp water

3 1/4 cups flour (+ additional flour for rolling out cookies)

2 tsp. baking soda

2 tsp. cinnamon

1/2 tsp. cloves

Optional:

Sanding Sugar or other decorative sugar for sprinkling on cookies before baking.

Directions:

In a large bowl, beat butter and sugar together until light and creamy.

Add egg, orange zest, corn syrup and water and beat until combined.

In another bowl, sift together the flour, baking soda, cinnamon and cloves.

Add flour mixture to sugar and butter mixture and mix until combined.  If using a hand mixer, you will probably need to save your mixer at the end and stir by hand.

Press dough into a ball, put in a plastic bag, and chill in the fridge for an hour or so.

Set oven to 350F.

A portion at a time, roll dough out on lightly floured board, between 1/8 and 1/4 inch thick.

Cut with cookie-cutters and place on parchment paper covered baking sheets or lightly greased baking sheets.  We used nonstick spray.

Bake 10 minutes or until lightly browned.

Let cool for a minute or two on baking sheet before removing to a rack to finish cooling.  If they sit too long on the baking sheet, they tend to stick.

Roll and cut the remaining dough – reroll scraps until all dough is used up and bake as above.

Wishing you all a very Merry Christmas!

4 Comments

Filed under Cooking, Life

Missing Santa

Santa Mike & Papa

It’s Christmas Eve and also my dad’s birthday.  This is our first Christmas without him.

In the picture above, my dad is on the right and my brother is on the left.  Being Santa is kind of a family thing.  I love Christmas and have lots of wonderful memories and traditions that I enjoy.  But I miss my dad and find the sadness catches me by surprise sometimes.

Ceramic Santa

Of course Santa is everywhere this time of year and most of the time I’m ok, but sometimes I lose it. I don’t feel bad about crying either.  I’ve found that the sadness passes too, often as quickly as it comes.

Rem's Santa

My dad didn’t play Santa that often but he had the beard, the twinkle in his eye and the love year ’round.  He really loved playing Santa and had a whole character down.  He wasn’t a bored mall-Santa with an acrylic beard and vinyl boot toppers putting in his shift.  He interacted with the kids, listening to them and asking them questions.  He used to talk about “Randolph” the reindeer.  Kids would try and correct him but he would insist that his reindeer’s name was Randolph.

Li'l Li'l Pup

Sometimes, he would pretend to fall asleep, snoring dramatically, because he was so exhausted from working in his toyshop.  Some kids, usually girls, wanted to let Santa sleep, shushing others with a cautious “Shhh, Santa’s sleeping.” But others, often little boys, would tug his sleeve and shout at him “SANTA!  Wake UP, Santa!”

Santa on a Big Rig

So – I’m thinking about my dad and missing him.  But I look around and see the familiar red hat with furry white trim.  I’ve decided that Santa is a good way to remember him.

I made a pot of minestrone the other day using his recipe.  Cooking is another good way to remember my dad.  Making and eating the soup thick with vegetables, elbow macaroni and beans, topped with grated Parmesan cheese was like a little tribute to him.  He enjoyed cooking and loved feeding others.

Our family will be gathering today and tomorrow and there is an empty place and a sadness with him gone.   But his memory lives on in countless ways.

Papa in Red

David Faw

December 24, 1934 ~ May 24, 2012

14 Comments

Filed under Life

Christmas Crunch

Big Batch of Christmas Crunch

This is an easy recipe that goes together pretty quickly.  If you need to bring something to a party or want to give a little homemade treat out to friends, this might be just the ticket.

It is a sweet-salty combination of cereal, pretzels, nuts and Craisins enhanced with red and green M&M’s.  Melted white and peanut butter baking chips stick it all together into delicious, munchable nuggets. It might even increase your Christmas spirit if you are finding yourself in need of a little holiday boost.

Sweet and Salty Christmas Cruncch

I’ve seen several similar recipes and since I’m giving some away I have made a few batches with different variations myself.  I think this is the right balance of all the ingredients.

Christmas Crunch Ingredients

Christmas Crunch

Adapted from the back of the Chex box

– 1 batch serves Santa and 9 reindeer

Ingredients:

7 cups Rice Chex cereal, divided

2 cups small pretzels, broken in pieces

1.5 cups white baking chips

5 oz. (1/2 bag) peanut butter baking chips

1 12-oz. bag red and green M&M’s

¾ to 1 cup roasted, salted pistachios or peanuts

¾ cup Craisins or other dried, sweetened cranberries (this is half a package of Craisins)

Directions:

Measure 4 cups of cereal into a large bowl.  Add broken pretzels.

Cover two baking sheets with parchment paper or foil.

In a medium-sized, microwave-safe bowl, heat the white baking chips until melted.  Different microwaves have different power, so I suggest doing it in stages of about 15 to 20 seconds at a time and stir after each time.  I use mine at 50% power and it takes about 1.5 minutes.  The chips will hold their shape, even when they’re nearly melted.  Stir and make sure they are completely melted and smooth.

Almost Melted

All melted and smooth

When the white baking chips are completely melted, pour over the bowl of cereal and pretzels and stir together to coat.  Spread the coated cereal and pretzels out on one baking sheet to set.

Put the remaining 3 cups of cereal in the large bowl and the peanut butter baking chips in the medium bowl.

Melt the peanut butter baking chips in the microwave, and when it is melted, coat the remaining cereal, as above.

Melted Peanut Butter Chips & Cereal

Spread the peanut-butter-chip-coated cereal onto the second baking sheet to set.

When the cereal has set (you can speed this up by putting the baking sheet with coated cereal in the fridge for a few minutes), break up coated the cereal and pretzels into a large bowl, add M&M’s, Craisins and nuts and stir gently to combine.

Loaded with Goodies

I like how the red and green of the M&M’s stand out in the mix.

Christmas Crunch with Christmas Lights

If you want to make this recipe even easier, add the M&M’s and Craisins into the bowl before combining with the melted white baking chips and proceed as written. Add the nuts to the second batch before adding the peanut butter baking chips. This will make a more homogenized mix but it’s equally delicious.

Store in an airtight container.

I packed some into cellophane bags to give away.  I wrote labels and added some cute Santa and Snowman clothespins I picked up a few years ago.

Bags of Crunch

Thanks for stopping by.

5 Comments

Filed under Cooking

Half-Circle Christmas Tree (or Angel) Card

4 Half Circle Xmas Tree Cards

I’m happy to be sharing this Christmas card technique with you.  I’ve been busy and I’m sneaking away from other tasks (like decorating our real Christmas tree which Rem is doing right now) so I can show you this cute card.  Maybe some of you aren’t super-organized and didn’t make your cards in July (ha!).  If that’s the case, and you’re looking for a fairly easy card that turns out great, look no further.

You early-bird crafters who have everything created, bought, baked, decorated, knit, wrapped and under the tree can mark this for next July when you’re doing your cards for Christmas 2013.

I started with some fairly traditional Christmas colors for my paper.

Card Supplies

You need:

  • Card stock for the base of the card – one half sheet of 8 1/2 x 11 inches is what I use for these (and most) cards
  • Decorative paper for the background layer (3.75 x 5 inches works well)
  • Double-sided decorative paper for the tree
  • Embellishments as sparkly as stick-on crystals, pearls and glitter or as simple as a button are lovely to decorate your tree
  • Brown ribbon or brown scrap paper will form the trunk of the tree.
  • Pop-up adhesive dots to adhere the folds of the tree
  • Double-sided tape
  • Scissors
  • Bone Folder
  • Paper Trimmer (optional)

Use your favorite method for making a circle out of double-sided paper, whether it is a template, a Cricut or Sizzix machine.  Any circle-making tool you like will do.

Trace a Bowl

Mine is very old-school: I traced a bowl with a pencil.  For my tree cards I was making circles that were about 6.5 inches across.  So however you make your circle, this is the time to do that…and cut it out.

Paper Circle

Cut it in half.

Circle In Halves

Each half-circle will make one tree.

You’re going to have to experiment a bit but you want to make 4 folds, dividing the half-circle into 5 segments. Something like this (but don’t mark the lines with pencil, just use a bone folder or crease firmly with your fingers).

Template for Half Circle Tree

I sometimes fold it one way and then reverse the paper and fold it a second time so I can decide which way looks best.

Half Circle with Folds

This one has pencil marking the folds just to make them show even more.  Don’t do that.

When you fold the half circle into the finished triangle shape, you reverse the direction of each fold so both sides of your decorative paper show.  In other words, after making the first fold (I start with the smallest section), flip the circle over and make the next fold the other way.  In origami folding this is known as making a mountain fold followed by a valley fold, followed by a mountain fold and ending with a valley fold.

Once you’ve got your tree folded I think it looks best if you use pop-up adhesive dots to adhere the layers.  It adds some dimension to the tree.

Two Tree Cards

The tree on the left was glued down flat, the tree on the right has adhesive dots between the layers.  Either way works.

Fold your piece of card stock in half to make the card and layer a piece of paper onto the front. Cut a snippet of brown ribbon or brown scrap paper to form the trunk of the tree and stick it on.  Adhere the tree to the card front with the trunk showing at the bottom.

Rows of Tree Cards

Decorate the tree.  A simple red button is effective or go glam with rows of stick-on gems.

Add a greeting inside your card and a signature on the back and you’re done!

If you’d like to make an angel, start with a smaller circle so your finished triangular shape is a little smaller.  You need room for wings, the head and the halo!

Two Angels

Additional supplies for angel card:

  • Plain or printed vellum or other paper for the wings
  • Pink scrap of card stock for head
  • Metallic cord or other yarn or thread for hair
  • Gold pen to draw halo
  • Markers for facial details and wing embellishment
  • 1.5 inch Scalloped Circle Punch to punch out wings (optional)

Create a head for your angel and draw on a face.  I braided some metallic cord and adhered that to the head for hair.

Because of the thickness of the finished triangle (our angels gown), I adhered the head on a pop-up adhesive dot.

Wings were punched from printed vellum using a scalloped circle punch.  I folded them in half, added some embellishment with white gel pen and gold markers and adhered them behind the angels dress.

Angelic

A gold marker makes the halo.  Angelic.

Thanks for stopping by.  I hope you are finding time during this hectic season for doing the things that you love that make it feel like Christmas to you.

8 Comments

Filed under Crafts

Christmas Past

Paper Strip Heart Ornament

Easy Paper Heart Ornaments These are some past posts with Christmas crafts and recipes you might enjoy.  The Paper Heart Ornaments are easy and if you are like most crafters I know, you have an ample supply of beautiful paper that would work perfectly for these hearts.

Cracker Toffee

Cracker Toffee

Additively good, salty-sweet toffee with the crunch of crackers and coated with chocolate.  It’s pretty easy to make and doesn’t take special tools (no candy thermometer needed).

Vellum Bird

Vellum Ornaments

I’ve been making these for a few years.  They’re not a quick project like the paper hearts but they are beautiful, even when doing a more simple design.

IMG_0003

Chocolate Mice

Dip a maraschino cherry in chocolate and put a chocolate kiss on it.  Add ears from sliced almonds and what do you get? A very cute little chocolate mouse that would look adorable on a tray of Christmas cookies, or perched on a Buche de Noel.

Buche de Noel

Cheese Wafers

Cheese Wafers

Rich and buttery, these are easy to make – just like stir and drop cookies.  But they’re savory, not sweet.  Yum.

Thanks for your visit.

2 Comments

Filed under Cooking, Crafts