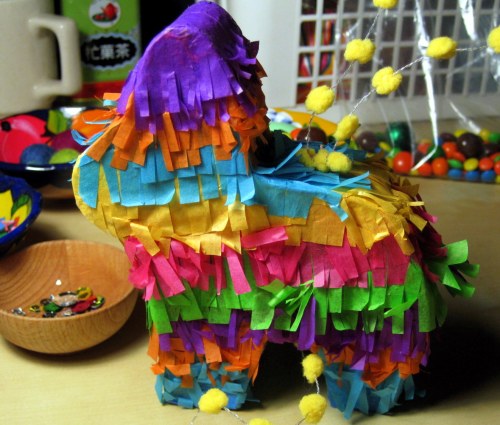
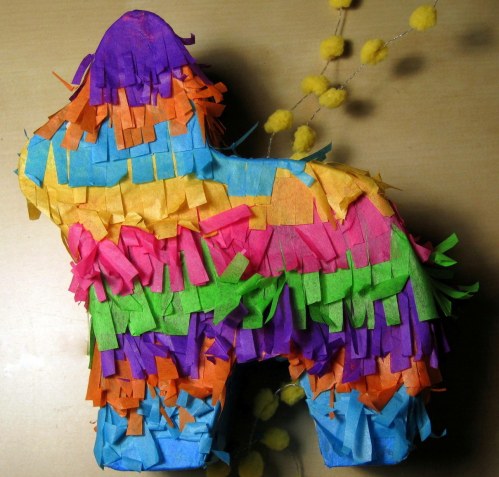
At Craft Gym last week we made sweet Mini Piñatas. Today is May the Fourth and it is my sister Kathleen’s birthday. Happy Birthday! I’m sure the piñatas were to honor Cinco de Mayo but I thought it would be a just the thing to celebrate Kathleen’s birthday and make it an even more festive fiesta.
Unfortunately, the link for the mini piñatas on the Once Around site isn’t working, so I’ll walk you through the steps.
Mini Piñatas
You’ll need:
- A Template (lots of online options) or draw your own
- Pencil to trace template
- Lightweight Cardboard such as cereal box or poster-board
- Scissors (if you have multi-blade fringing scissors, now is the time to use them!)
- Masking Tape
- Colorful Crepe or Tissue Paper
- Glue Stick or Glue such as Aleene’s Original Tacky Glue
- String (if you want to hang it and/or to attach to trap door)
- A large needle (to put the string through the cardboard)
- Optional: Washi Tape to close the trap door for accessing the treats inside
- Small Candies or other tiny treats to fill the piñata
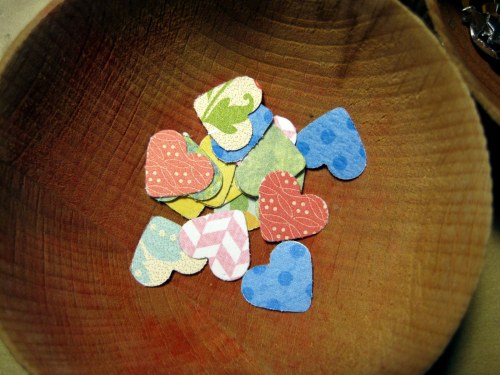
I used some hand-cut confetti, sequins, paper hearts, felted balls and a variety of small candies to fill the piñata.
I saw several patterns online that had tabs for putting together the pieces of your piñata but in our Crafty Gym we didn’t cut any tabs, and they worked fine.
Cut two matching shapes of cardboard, (I thought the donkey was really cute, but it was a little tricky putting it together – a big heart would also be cute and much easier!) and one long strip of cardboard, about 1.5 inches wide.
Use masking tape to assemble the piñata. I started at the bottom of one leg and taped the strip to it for a few inches. I creased the strip whenever I reached a sharp corner, then lined up the matching shape and starting taping it on the other side of the cardboard strip to form a 3-D shape.
If you want to hang the piñata up, use a large needle to poke a hole through the cardboard at the top of your shape and thread the string through the hole. I did this after I’d completely covered the piñata with paper fringe and it was pretty tricky.
I used super-cute yellow pom-pom cord that came on a birthday gift and I saved for just such an occasion. One piece is for hanging it up, one piece connects to the little trap door underneath.
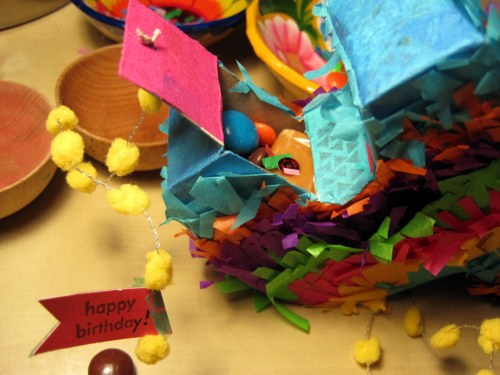
Most directions suggested cutting a flap or trap door for candy removal after you’re finished assembling the piñata but I cut the trap door on the inside of one leg before I’d started adding fringe.
(Above) here is the candy door open, it is on the inside of the leg to the right) and you can just see two yellow pom poms attached to the door.
Cut tissue or crepe paper into strips about 1.5 inches wide and fold several strips together, folding in half and then in quarters, keeping the paper aligned.
Cut the tissue or crepe paper into a fringe, then unfold.
Using glue stick or tacky glue, glue two rows of each color of fringe to the piñata, starting from the bottom and working upwards.
Once you’ve completely covered your piñata, you might want to trim the fringe so as to keep the shape of the piñata from become obscured.
Let glue dry. Fluff the fringe a bit to give it more texture.
Fill your piñata with treats, tipping and tilting to fill every little corner. Attach cord to trap door.
I added a small “happy birthday” tag on the cord for pulling open the candy door.
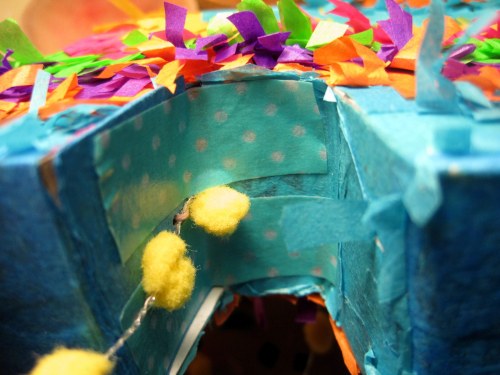
Close door and use some washi tape, if desired, to keep it closed.
Two strips of polka dot washi tape are keeping the treats inside until the recipient opens the piñata. You might want to provide a plastic bag when you give your piñata so they don’t lose any goodies.
Thanks for stopping by.



just too cute!
Awww, thanks.