
Belated Christmas greetings to one and all! I’ve been a busy elf, crafting these cute little clothespin doll ornaments and I didn’t want to share them before the holiday because they were all gifts.
To be honest, I’ve also been using up all my discretionary time on Christmas projects: these ornaments, a bit of cooking, a little shopping, another craft project (washer necklaces – I’ll show you those another day soon) and wrapping, mailing, and tagging of gifts. I’m sorry that I really haven’t had time to catch up with you here.

The awesome Once Around, a craft shop in Mill Valley, offers free, weekly, drop-in workshops. Earlier in December, I had a delightful Tuesday evening at “Craft Gym” making Santa Lucia clothespin dolls. I went online before the class and found lots of cute pictures on Pinterest, like this one and this one.
A wonderful bonus to the craft gathering was seeing a friend from grade school, Victoria Murphy, née Thomas, and her sister, Phoenicia. So not only did I get a free class, some craft-shopping time and a fun evening, but I had a nice visit with old friends.

The store is a well-stocked with beautiful arts and craft supplies, and it is always a pleasure to visit and browse. Here are some pictures are from a previous visit. As you can imagine, I’m like the proverbial kid in a candy store!


Once Around has a “Do-Dads” section with jars of little goodies like tiny shells, miniature candy canes, sequins, itty-bitty baskets, little jingle-bells, buttons and bows which were perfect for this project.


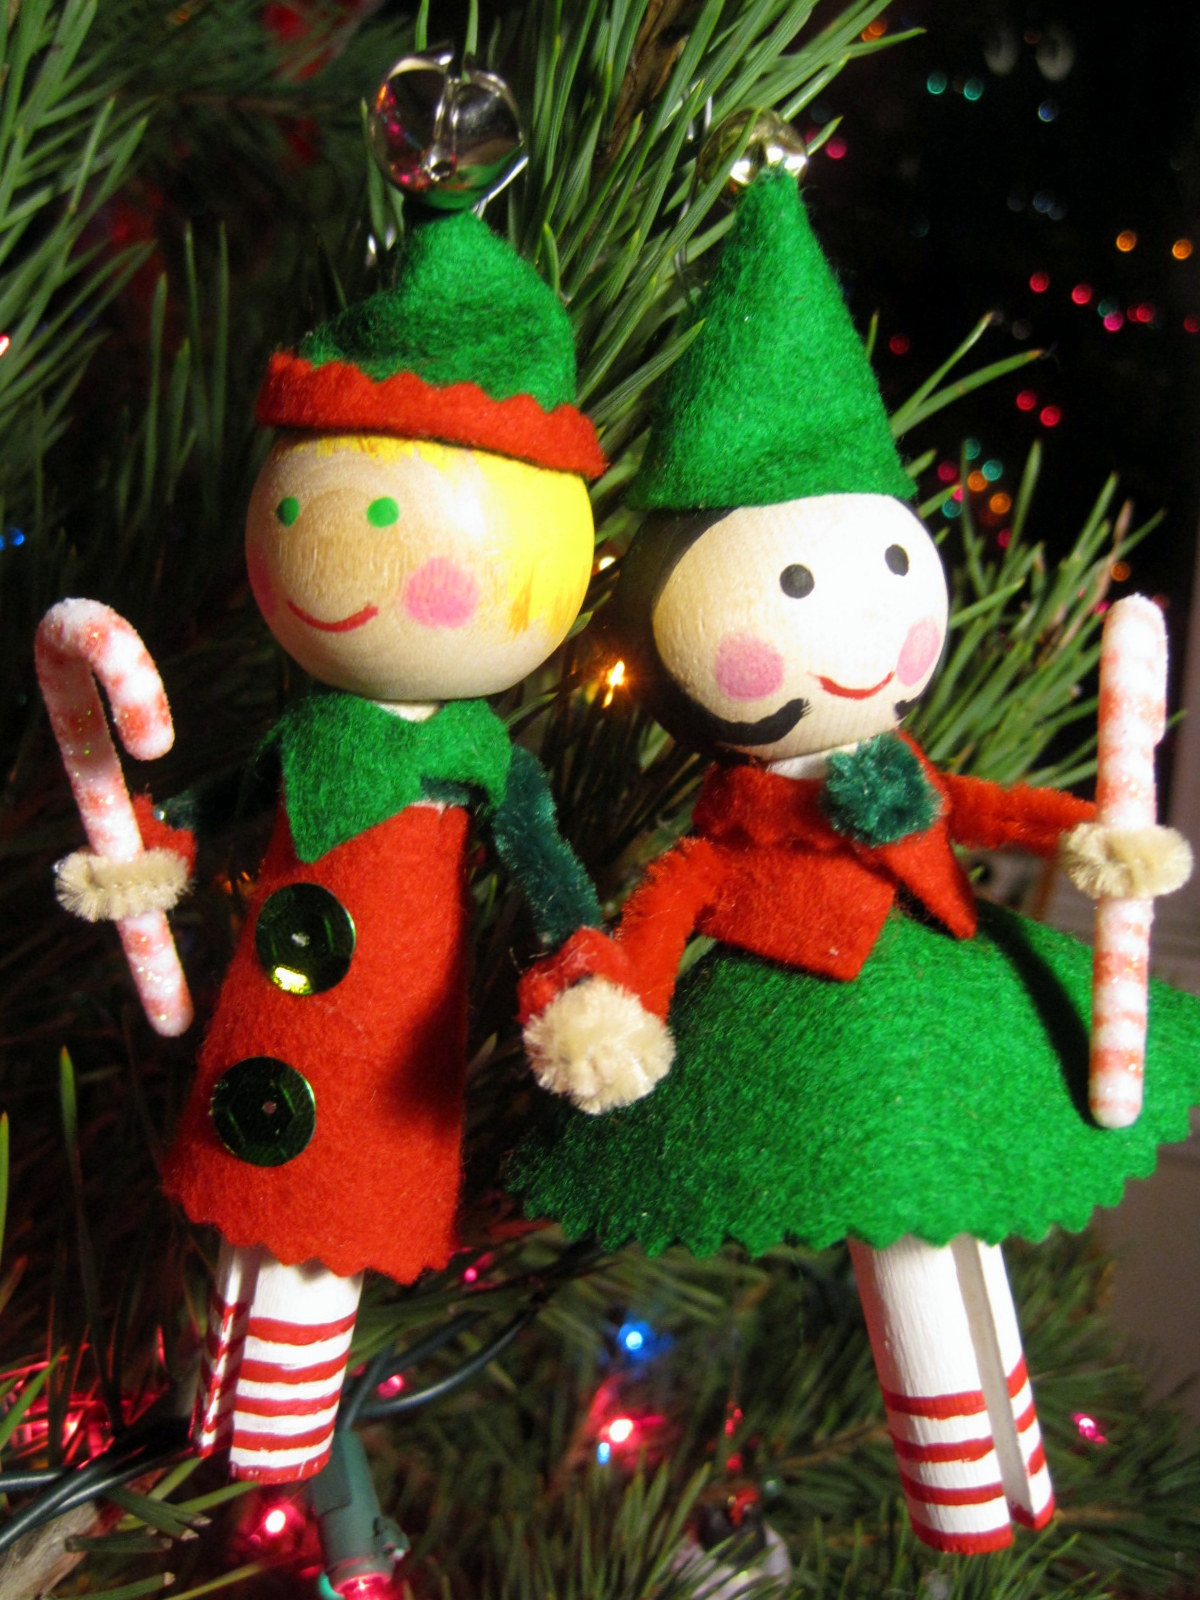
The clothespin dolls (also called peg dolls or clothespeg dolls) are fun to make. I like how small they are and how each little detail can really add character and personality to the finished dolls.

Striped socks and buckled Mary-Jane shoes and a little basket for Little Red Riding Hood.


Tiny sheet music made from washi tape for the caroler.


Toothpick candles and embroidery floss braids for Santa Lucia.

Another aspect that amps up the adorable factor of these dolls is their big heads. I’ve made clothespin ornaments before and found the small head of the clothespin to be a little unsatisfactory. When I saw dolls with the wooden bead added for the head, I knew that was the way I wanted to do it.

The dolls are pretty simply: old-fashioned wooden clothespins (I prefer the one that is flat at the end, but the pointed-end ones also work and look great for some of the designs), wooden head bead, pipe cleaners for the arms and paint for the facial features and hair. I first grabbed some paint at the dollar store because I was short on both time and brains. Don’t waste your time on dollar store paint. It looked almost the same as these paints, similar containers and all, but the paint was thick and gloppy and had very little pigment. It was very frustrating and wasted my time and money (yes, only a dollar, but still).
By the way, I couldn’t find the heads in local shops and ordered them from Clickety Clack Collectibles on Etsy. These are the dimensions: 1-1/4 inches in diameter with a 19/32 inch hole x 5/8 inch deep. There are little wooden stands that I’m going to buy too but for these I used a small screw eye screwed into the top of the head so I could attach an ornament hook.
I work on the dolls in stages – use some folded tape on a clothespin to attach a head so you can paint the face and hair.


A round toothpick dipped into paint is a perfect tool for dotting on the eyes.


After painting the mouth and cheeks with a very small brush, I set the peg to dry on the edge of a glass.

Most of the time I painted the hair on. I started with a darker color and then added detail with both lighter and darker colors. For a few of the dolls I glued on a bun or ponytail from embroidery floss, pipe cleaner or felt.


With Mrs. Claus I started with all-white hair and added a few details with grey. Her bun is made from narrow strips of white felt, braided then glued into place with hot glue.
The acrylic paint dries pretty quickly but you don’t want to mess it up, so while the hair is drying, I start working on the body. Sometimes I paint the whole peg and sometimes I paint the feet and sometimes I don’t paint it at all. Don’t glue the head on to the body until the clothing is completely done because it will be in the way and make it difficult to get the clothes on the body.
After the body paint is dry, take a pipe-cleaner and, with the peg aligned so the space is centered between the legs in front, wrap the pipe-cleaner from the front, twist tightly in back and bring the two arms around to the front. I like the arms right up at the top of the cylindrical portion before it narrows to the neck. Use craft scissors (not your good fabric ones) to trim the ends to a good arm length, leaving enough extra to bend little hands. I use more than half a pipe-cleaner for one pair of doll arms.
If you aren’t paying attention, you might end up with the legs and body out of alignment. Some of my little sweeties ended up that way, but I decided not to sweat it.

Felt is great for clothing because it doesn’t fray. But I also bought “fat quarters,” quarter yards of fabric sold for quilting and other projects, and used pinking shears to cut out circles for the skirts and triangles for headscarves and shawls. A scrap of eyelet lace trim makes an apron.


Using colored pipe-cleaners to match the felt tops made sleeves for my little cardigans and jackets. The little dog walker has felt mittens and pipe-cleaner ear muffs (not to mention a pipe-cleaner dachshund).


I also made little sleeves of felt or lace for some of them. The sleeves were cones or tubes that I glued on individually after putting on the bodice.


For Rosie the Riveter, the sleeves had rolled cuffs and I pushed the tube sleeve back and glued it in place.
For skirts, trace a circle on your fabric using a lid of a Tupperware container or something similar. You’ll have to experiment to learn what size circle for what length skirt. Cut into the circle from the edge to the center and cut out a small inner circle for the waist. A larger inside circle made for more gathers in the skirt.
If you know me, you know that I really don’t sew. I grew up with my mom and two sisters all very talented in that department, and I never had the knack (nor patience) for sewing. But for this project I got out my little Ziploc bag sewing kit, threaded a needle and ran small stitches around the waist of each little skirt. Lay the doll down on the skirt and tie the thread tightly around her waist. I dabbed some glue (sometimes hot glue, sometimes Ailene’s Tacky Glue) where the skirt overlapped in back.
The rest of the clothing was made from snipping, folding and gluing with hot glue. When working on collars and necklines I would try on the head to check scale and once the clothing was finished, I used hot glue to attached the head.
In one instance, the clothing was more minimal.

A little felt for the tail fins, a tiny scrap of fabric for the top and lots of sequins created a beautiful mermaid.
After making about 18 of these little ornament, I’m still enjoying it and coming up with more ideas. Once I get stands, I’ll make some that can stand on their own. It’s been a real pleasure thinking up the right doll for each person and crafting each one with that person in mind.

Looking at this box of dolls I’m reminded of “It’s a Small World,” and as the song says, it’s a world of laughter, a world of tears. I experienced both this Christmas.
Thank you for your visit. Wishing you all the very best for a happy, healthy New Year!

Oh, my gosh!…adorable!…what patience you have to work on something so small… I know all who recieved them … loved them!… so individual!…
GREAT JOB!…Can you tell how excited I was looking at each one!
Dianne, these are just beautiful! You should be proud of all your hard work – such detail and character in each one! Lovely 🙂
Thank you! I’m very proud of them. They make me smile just to look at them! I think they really shine when they have something that gives them character, so I look for those little details I can include.
They are gorgeous 🙂 I am jealous you found time to do them and get them all completed for Christmas!
Would it make you feel any better if I told you that I finished one (so far) after Christmas and have two more in the making? Or that Rem and I have been eating on the bed for a few weeks now because my crafting has taken over the end of the table and desk? (We can only reach one end right now because our big Christmas tree takes up so much space).
Ha ha – I like the eating on the bed scenario! My dining room table hardly ever gets used for dining… I have a craft room but it just stores all the stuff – there is no room for actual crafting… Still – I think you did an amazing job on the peg dolls. They are fabulous – I love their little outfits 🙂
Wonderful Diane! Each one so different with its own distinct personality. Amazing! Have a magical New Year!
Thanks, Virginia! Creativity and magic to you in the New Year as well!
Pingback: Coat Hanger Heart | dianne faw
Pingback: Spring Wreath | dianne faw
Pingback: 12 Ideas for Christmas | dianne faw
Pingback: Rosie Rally Rocked! | dianne faw
Pingback: Salt Shaker Angel | dianne faw
Pingback: Five Years of Blogging | dianne faw
Thank you. Appreciate your information and details. Wish I lived in mill valley. Lol. Inspires me to make a bunch of my own creations. 😊
That shop in Mill Valley has gone through several changes but it was sure wonderful when it was first opened. I hope you made some clothespin dolls! I’ve been on a blog hiatus but getting back to it. Thanks!
love your work and want to learn from you.
Such beautiful and creative ideas. I have been working with pegs and clothes pin dolls briefly and I love tour clothing and tips. This continues to inspire me in this artistry. “Nana”has been giving them as gifts, but to be honest I love them all and want to kept them, as they bring on a life all their own🥰
I’d love to see some photos of your dolls. 🙂
Beautiful little dolls, I am going to make a gift each for my friends, to cheer them up at this difficult time in Lockdown! Thank you for sharing your brilliant idea!
Your little clothespin dolls are fabulous and your very creative! Your a woman after my own heart. Keep up the good work, I love it.
Susan
Thanks, Susan! They were so fun and I loved making them. I’m a little embarrassed to take over a year to respond. I haven’t been an active blogger but trying to get back into it.
Your dolls are beautiful! I’ve gotten so many ideas looking thru your pictures. Thanks for sharing!
Thanks for your comment, Trish! I’ve been terrible keeping up with my blog but trying to do a little catching up. I really loved doing those ornaments – I’m glad you got some ideas. 🙂